We
had covered how to create an AWS account in the previous article, and in this
article, we'll go through how to launch an instance using the AWS management
console.
EC2
Instance
Simply
described, an ec2 instance is a virtual machine, with ec2 indicating Elastic
Compute Cloud. This virtual machine or server can be used to host a website or
application in the cloud like how we host in physical server.
AWS offers a variety of instance specifications for uses ranging, so we can choose the one that best suits our needs. There is no upfront fee to launch the instance, and billing is based on usage.
Amazon
EC2 Instance Types
- General Purpose
- Compute Optimized
- Memory Optimized
- Accelerated Computing
- Storage Optimized
Let us move to the launch
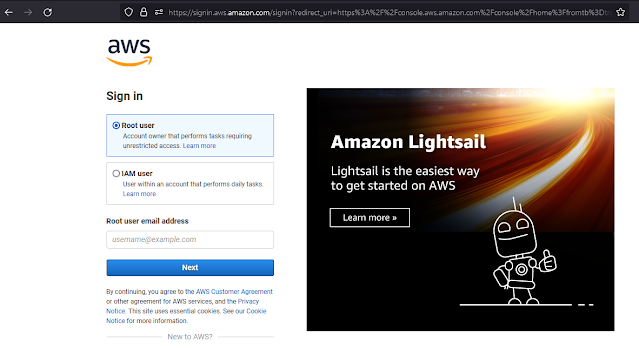
- 1. Login to the AWS Console - I'm using a root user here.
Instead of using a root user, I strongly advise you to create an IAM user. I'll discuss IAM in a separate article.
- 2.
Click
Launch Instance from the dashboard
- 3.
In the
left side we can see the ‘Quick Start’ options
I
selected the option ‘Free tier only’ - Read and understand the free usage and
then select a free tier for the learning purposes.
- 4.
Select
the Windows Server for the list – I selected Windows Server 2022 Base
- 5. Choose an instance type
As
mentioned above, the AWS offering different specifications for the various
usages so we can select the instance which match our needs. I selected the Free
tier eligible instance, i.e. t2.micro – vCPU 1, RAM 1GB.
- 6.
Configuring
Instance – I selected the option ‘Protect against accidental termination’ and
leaving other options as default.
- 7.
Add
Storage – From this window we can add or extend the storage
- 8.
Configure
Security Group
This
is very important steps; we have to manually enable the port to get the
instance access remotely over internet. Here we are launching the Windows
Server so by default RDP 3389 port added. In the Linux case SSH 22 will add by
default
- 9.
Review
all the details and click Launch to get the Keypair creation window
- 10. Enter the Key pair name and download the
keypair and save it securely
- 11.
After
the download, click ‘Launch Instance’
- 12. Click ‘View Instance’ and check the status,
wait few mins to change the status.
Decrypt Windows
Server Password
The
instance has launched successfully and the next step is to access the instance
to deploy sites, applications or whatever else as per your needs. To get the
access to Windows, we have to generate the User Name and Password as below.
- 13. Select the instance from the dashboard click right mouse button
- 14. Go to Security à Get Windows password
- 15. Browse the Keypair which we download in the
previous step then Decrypt Password
- 16. The Windows User Name (Administrator by
default) and Password will show and just copy that to connect the instance through the RDP.
To connect to Windows Instance, use any tools like RDP and enter the User Name and Password.
The Bottom Line
In this article, I demonstrated how to start a Windows Server ec2 instance with the most minimal configuration. This is just the beginning; in future posts, I'll go through the advanced setups.


COMMENTS